")
Android apps install to the internal storage by default. If you’ve ever seen your device complain that it is out of memory, especially when trying to install a new app, don’t feel too bad. You can also set the SD card as your default install location. This trick allows you to move almost any app to the SD card – no root access required. Enabling the moving app feature on your phone is much easier than how it may sound like. We shall take you through it step by step.
This tweak requires Android 2.2 or later. To change the default install location, you’ll need to use the ADB, or Android Debug Bridge, utility included with Google’s Android SDK. Following are the Step-by-step Instructions for moving All Android Apps to SD Card (Without Rooting Device).
First of All Hit Like Buttons Shown Below.
1) Enable USB Debugging & Developer Options
The 1st step is to enable USB Debugging.In gingerbread it is placed in Settings> Applications > Development > USB Debugging. And ICS it is placed in Settings > Developer Options > USB Debugging. But, after upgrading it to 4.2 it is missing. If your are on Android 4.2 or higher The USB Debugging and Developer Options are hidden in latest Android 4.2 Jelly Bean. If we want to use those options, manually activate it. Here is the guide to enable USB debugging on Android 4.2 Jelly Bean running mobiles and tablets.
Developer Options have many features for app developer to test an app on their device from PC via ADB.
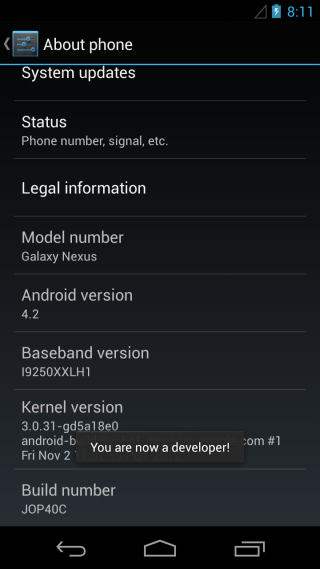
- Go to – Settings > About phone.
- Then move on to Build number option
- Tap on Build number repeatedly about 7 times.
- This is enough.
- After touching 7th time you will see a message that, “you are now a developer”.
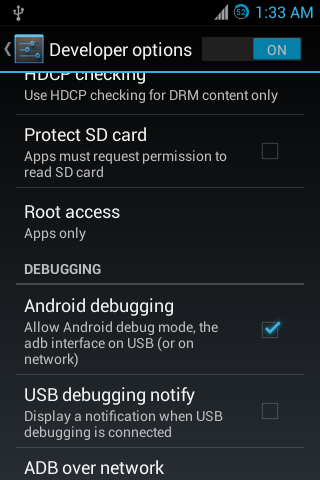
Now the option will be placed in Settings menu. Normally it placed under System in Settings menu. Then you can enable it in Developer Options and Android Debugging.
2) Install the Android SDK
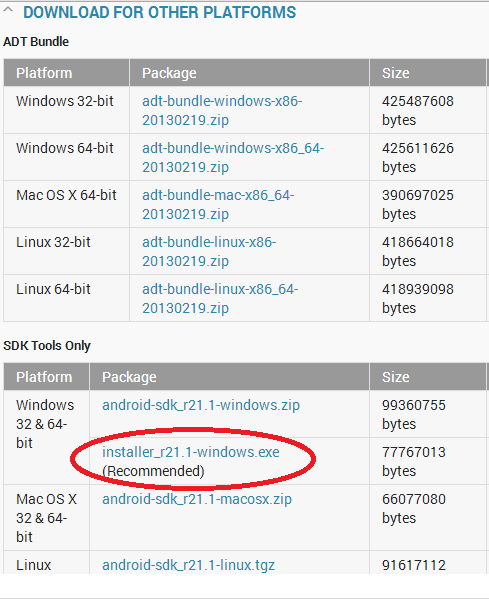
After Enabling USB Debugging You’ll need to download and install Google’s Android SDK on your computer. If you don’t already have Oracle’s Java JDK installed on your computer, you’ll have to download and install it before installing the Android SDK.
Note: You need only Android SDK for this so No need of Downloading Android SKD bundle just download SDK Tools Only.
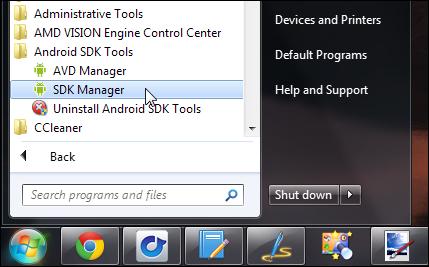
After you’ve installed both the JDK and Android SDK, launch the SDK Manager from your Start menu.
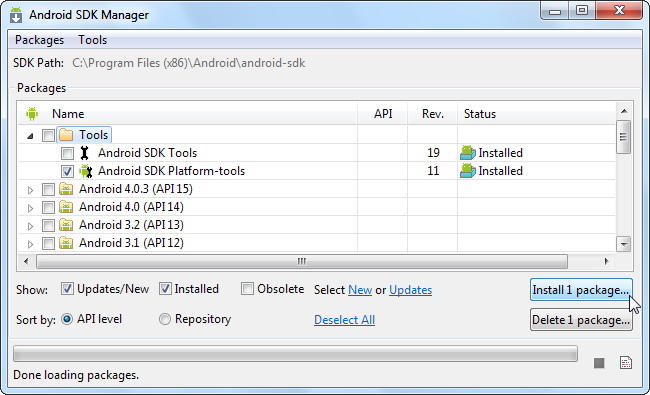
The ADB utility isn’t installed by default. It’s included in the Android SDK Platform-tools package – select this package and click the Install button to download and install it.
After the process completes, connect your Android device to your computer with its included USB cable. Windows should locate the device and install the appropriate drivers automatically. If it doesn’t, you may have to download and install the appropriate drivers from your Android device’s manufacturer. Do not mount the device after connecting it – just plug it in.
3) Using ADB
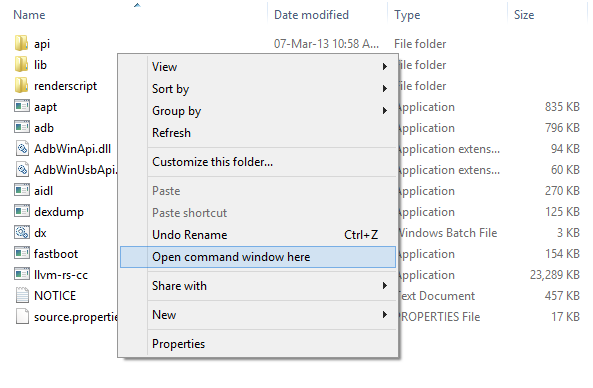
Open a Windows Explorer window and navigate to the android-sdkplatform-tools folder. On Windows, you’ll find this folder at C:Program Files (x86)Androidandroid-sdkplatform-tools by default. Check C:Program FilesAndroidandroid-sdkplatform-tools if you’re using a 32-bit version of Windows.
Launch a Command Prompt window in this folder by pressing and holding the Shift button, right-clicking in the folder, and selecting Open command window here.

- Run the adb shell command to enter ADB tools.
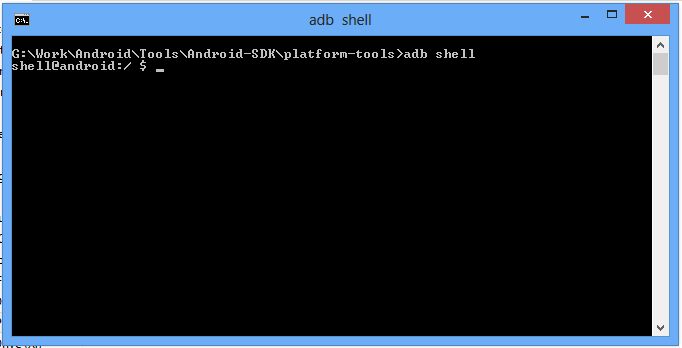
Command Code:
[code]adb shell[/code]
- Run pm get-install-location command to check the default install location which will be 0.
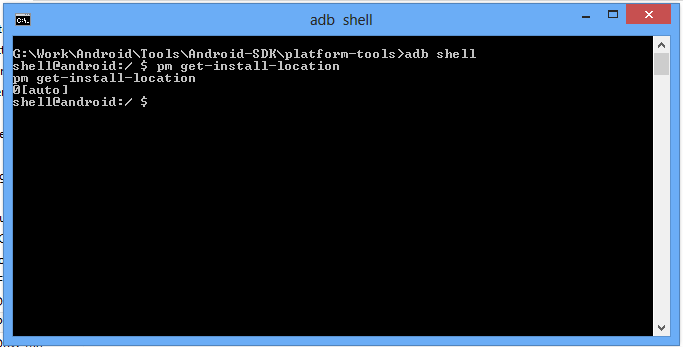
Command Code:
[code]pm get-install-location[/code]
- Run pm set-install-location 2 command for setting default install location to SD card.
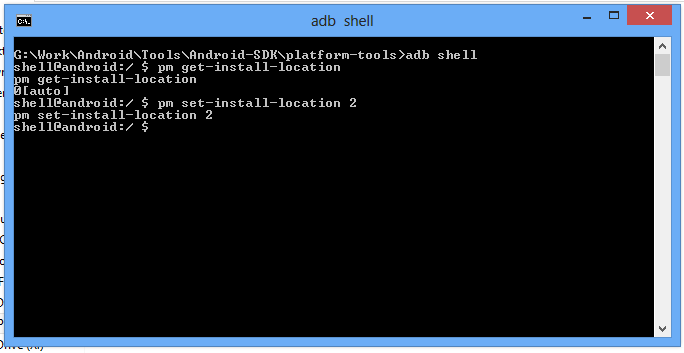
Command Code:
[code]pm set-install-location 2[/code]
0 [auto]: Let system decide the best location
1 [internal]: Install on internal device storage
2 [external]: Install on external media
- Run pm get-install-location command again for conformation of location change.
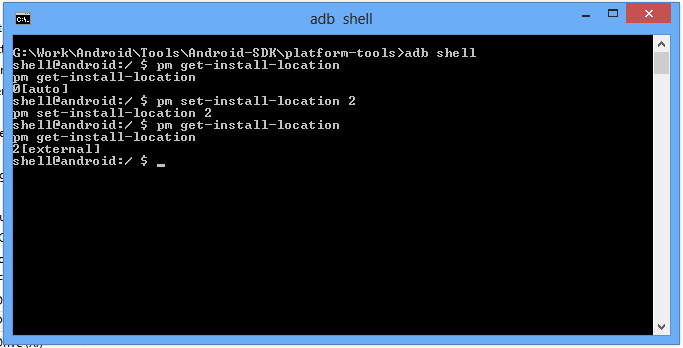
Command Code:
[code]pm get-install-location[/code]
4) Moving Apps to SD Card
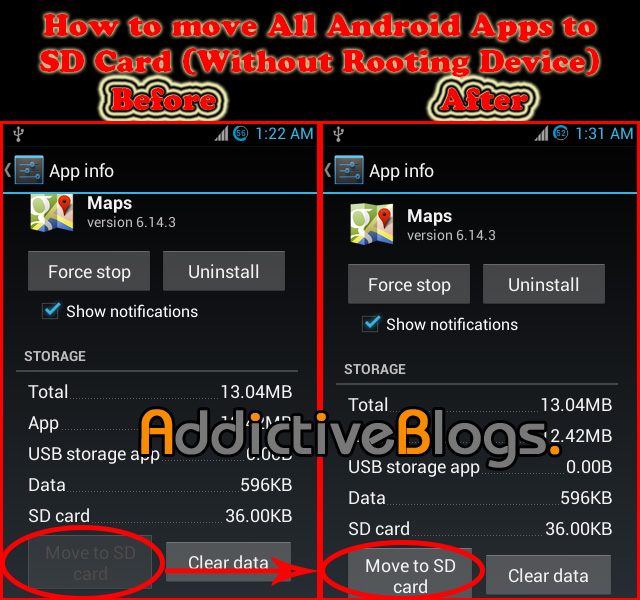
Apps that refused to leave your system storage can now be moved to the external storage. For instance, below you’ll see screenshots of the Google Maps app. Before the change was made, the Move to USB Storage button was grayed out. After the change was made, the button is enabled and the app can be moved.
Warning.!!
Some apps shouldn’t be installed to your SD card and should remain installed on the internal storage. The external storage is unavailable when your Android device is mounted on your computer, so apps that remain running all the time should be left on your internal storage. Widgets, launchers, animated wallpapers, and anything you want to use while your Android’s SD card is mounted on your computer should be left on the internal storage.


 by changing Default Install Location and free internal memory of you device. Install More Games and Apps.)